
How to Properly Install a Pressure Transducer
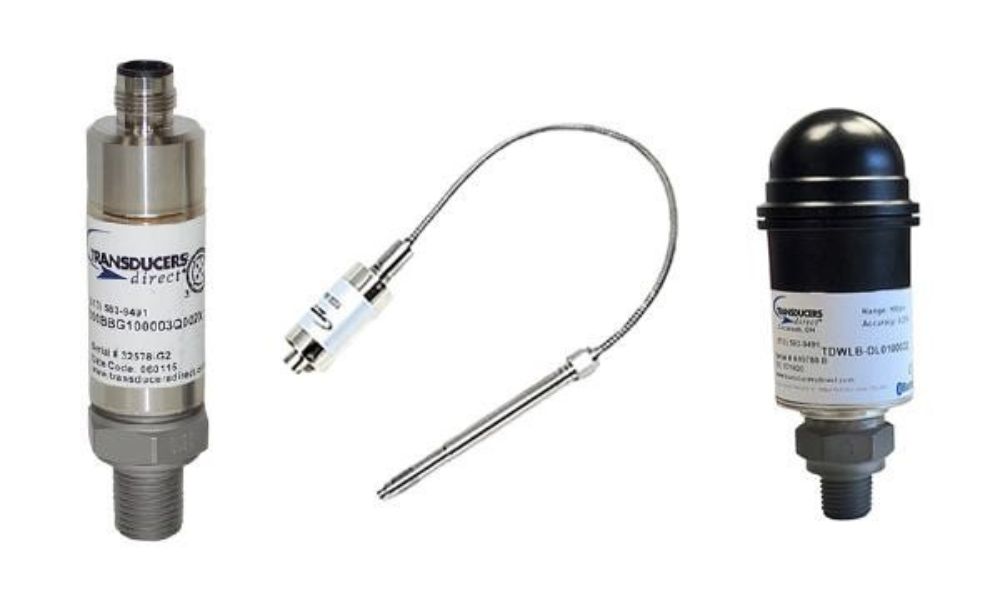
Pressure transducers play a vital role in modern industrial applications. These electromechanical devices, which convert applied pressure into an industry-standard electrical signal, are commonly used in sectors such as food and beverage manufacturing, oil and chemical refining, water treatment services, and automation, just to name a few.
While setting up a system of pressure monitors throughout your facility may seem daunting or confusing, there’s no need to hire someone else to complete the installation process. Read on to learn how to properly install a pressure transducer in your facility.
Understanding Different Transducer Outputs
The world of pressure transducers is vast and varied, with a range of output types to choose from. Three main types dominate this field: millivolts, amplified voltage, and current output. Each type has its own unique characteristics, suitable applications, operating environments, and uses.
Millivolt outputs are typically used in laboratory settings where the distances between the transducer and the readout equipment are short. This is because millivolt outputs are more susceptible to electrical noise and interference over long distances.
On the other hand, amplified voltage outputs offer a greater signal strength and are less affected by electrical noise. These are often used in industrial environments where the transducer may be located some distance from the readout equipment.
Lastly, current outputs are ideal for applications where the signal must travel over long distances or in environments with high levels of electrical noise. They are resistant to interference and provide a stable output regardless of any changes in voltage supply.
Understanding these differences in outputs is crucial when it comes to proper installation of pressure transducers. For instance, if you’re installing a transducer with a millivolt output in an environment with a lot of electrical noise, you may need to take extra precautions to shield the device and its connections. Alternatively, if you’re dealing with a current output transducer, your installation will likely be more straightforward since these devices are designed to withstand challenging environments.
It’s important to note that transmitters, despite being similar to transducers, have a key difference in their output options. Unlike transducers, which can generate various outputs, transmitters are limited to transmitting a current output.
Following the Installation Process
Now that you know more about the most common transducer outputs, it’s time to learn the specifics of a pressure transducer installation. When you are ready to install a pressure transducer, following a detailed step-by-step guide is important to ensure a successful setup. The exact instructions for your specific transducer are usually located in the user manual or provided by the manufacturer or distributor. However, provided below are the general steps involved in a standard pressure transducer installation.
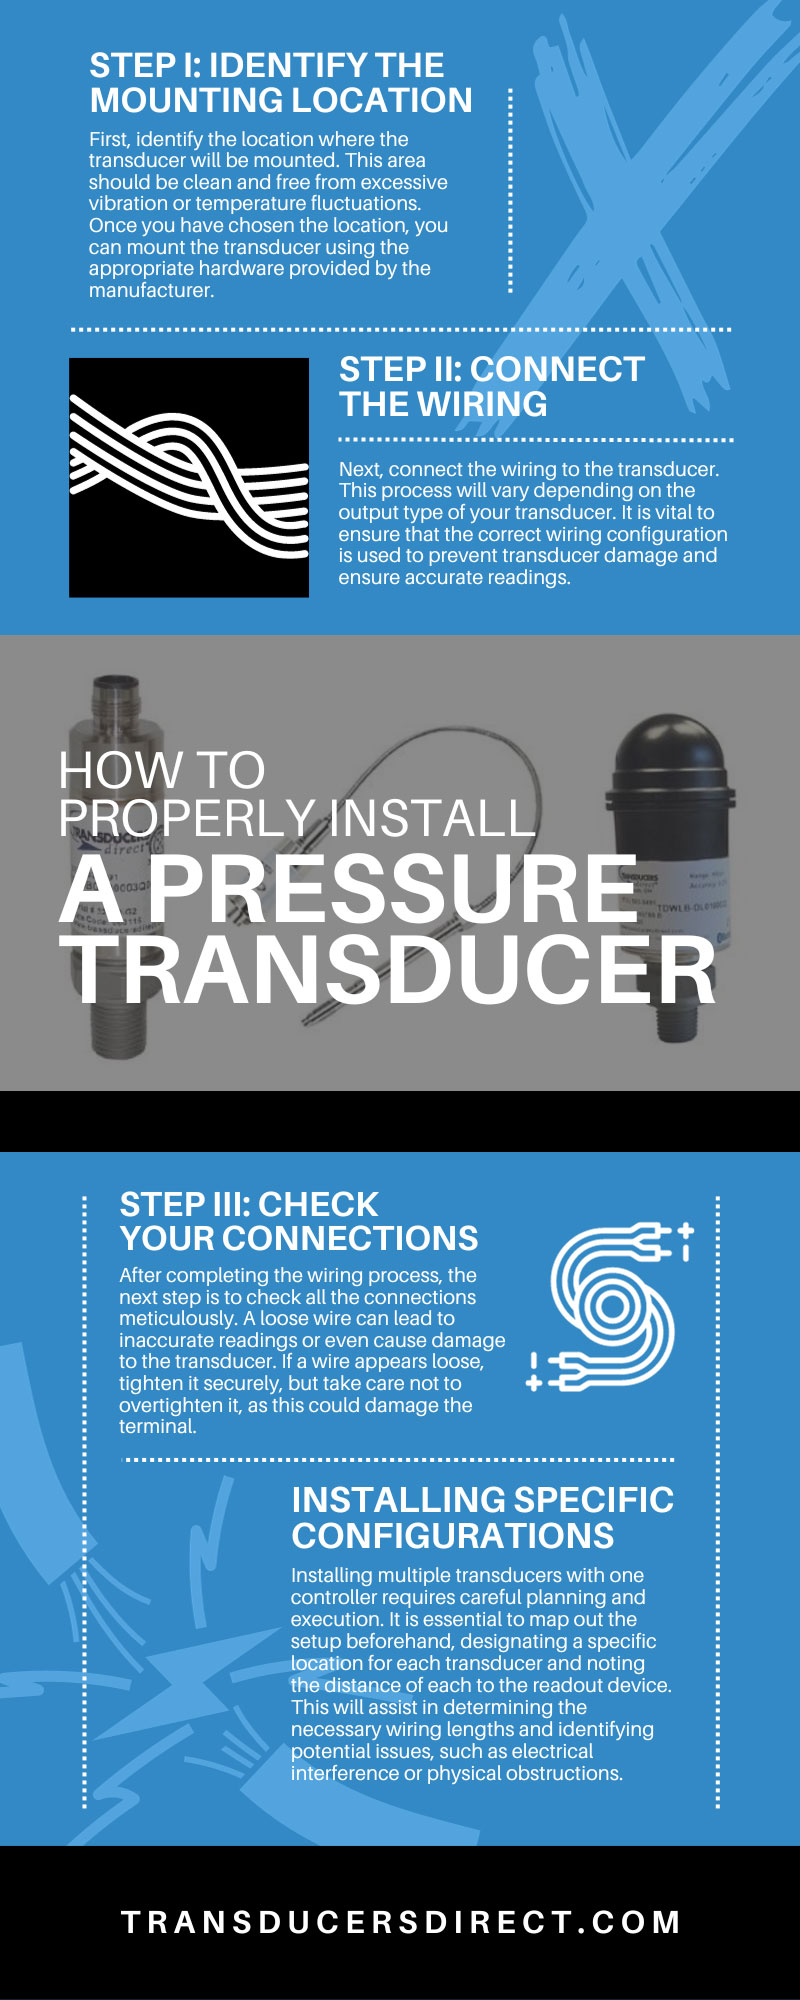
Step I: Identify the Mounting Location
First, identify the location where the transducer will be mounted. This area should be clean and free from excessive vibration or temperature fluctuations. Once you have chosen the location, you can mount the transducer using the appropriate hardware provided by the manufacturer.
Step II: Connect the Wiring
Next, connect the wiring to the transducer. This process will vary depending on the output type of your transducer. It is vital to ensure that the correct wiring configuration is used to prevent transducer damage and ensure accurate readings.
For a millivolt output transducer, two wires are typically required. One wire is used to provide the excitation voltage, while the other wire is used to carry the output signal back to the readout device.
In the case of an amplified voltage output transducer, three wires are commonly used. The first two are used in the same way as with a millivolt output transducer, while the additional wire provides a ground connection between the transducer and the readout device.
For current output transducers, two wires are usually sufficient. These transducers operate in a loop where the current varies proportionately to the pressure. The same two wires are used for both supplying power to the transducer and carrying the output signal.
Step III: Check Your Connections
After completing the wiring process, the next step is to check all the connections meticulously. A loose wire can lead to inaccurate readings or even cause damage to the transducer. If a wire appears loose, tighten it securely, but take care not to overtighten it, as this could damage the terminal.
Additionally, inspect the wires for any signs of wear or damage. Frayed or damaged wires could interfere with the signal and should be replaced immediately. It is also crucial to ensure that the wires are correctly identified and connected according to the manufacturer’s instructions.
Once you have checked the connections, power up the system and monitor the output to ensure the transducer works correctly. It is recommended that you conduct a few test measurements to verify the accuracy of the readings. If the readings appear inconsistent or abnormal, recheck your connections and refer to the manufacturer’s manual for troubleshooting tips.
Installing Specific Configurations
Certain pressure transducer configurations require special installation processes and considerations, such as for multi-transducer systems connected to one readout device. This popular configuration is often accompanied by built-in zero and span adjustments, typically found on melt pressure transducers, which allows each transducer to calibrate and ensure accurate readings across all devices.
The zero adjustment sets the output signal at the lowest pressure point, while the span adjustment sets the output signal at the highest pressure point. By using these features, you can fine-tune each transducer to match the readout device, ensuring consistency and accuracy across all measurements.
Installing multiple transducers with one controller requires careful planning and execution. It is essential to map out the setup beforehand, designating a specific location for each transducer and noting the distance of each to the readout device. This will assist in determining the necessary wiring lengths and identifying potential issues, such as electrical interference or physical obstructions. All transducers should be mounted securely, following the manufacturer’s instructions, to prevent movement or vibrations that could affect readings.
The process of wiring multiple transducers to a single controller also necessitates meticulous attention to detail. Each transducer must be wired correctly, ensuring that the signals do not interfere with each other. Labeling each set of wires is beneficial to avoid confusion during installation. Once the wiring is complete, it is crucial to check all connections thoroughly, ensuring they are secure and correctly configured. Following these steps will lead to a successful installation, allowing for accurate and reliable readings from each transducer.
Understanding how to install a pressure transducer properly is simpler than you might anticipate. With ample knowledge of the various output types and configurations, you can follow the manufacturer’s instructions to a tee and ensure superior transducer performance in your facility. Bolster your facility today by browsing our selection of industrial pressure sensor products here at Transducers Direct.

Leave A Comment